The Fujifilm Instax Share SP-3 Printer is the perfect companion for your smartphone or digital camera. The printer connects wirelessly with your digital device and exposes images onto instant film. That way, you get the look of a vintage photo without the necessity of carrying an instant camera with you.
In this post, we show you the (easy) prerequisite steps to print photos directly from your digital Fujifilm camera to the SP-3. We used the Fujifilm X-T3 for this example. However, the steps should be reasonably similar for any other digital Fujifilm camera.
If you have any questions or don’t understand how to connect the SP-3 with your camera, feel free to leave your queries in the comment section below.
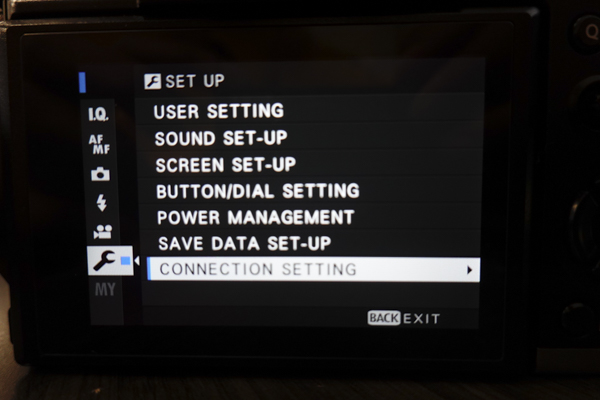
1. Enter the settings menu of your Fujifilm Camera and go to Set-Up

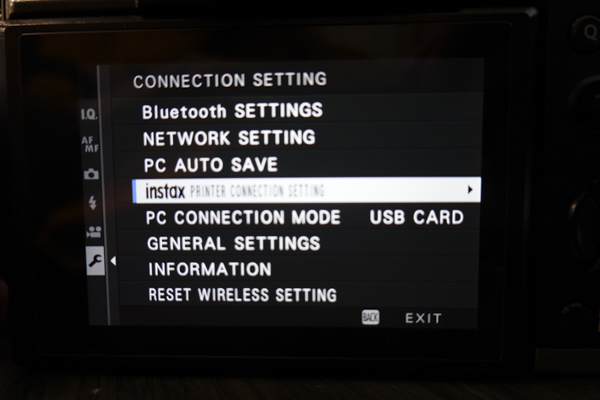
2. Select “Connection Setting”
3. Select” Instax Printer Connection Setting”
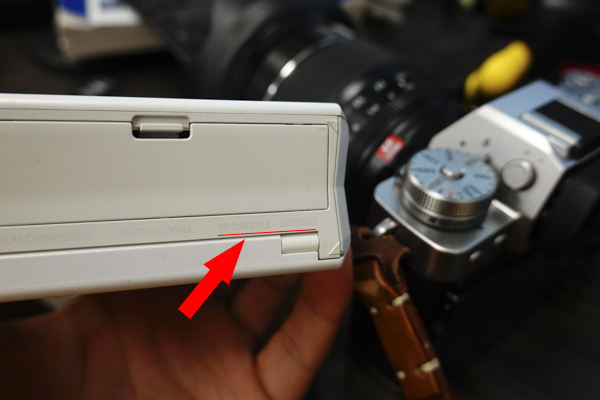
4. Locate the product number for your device on the bottom of your printer
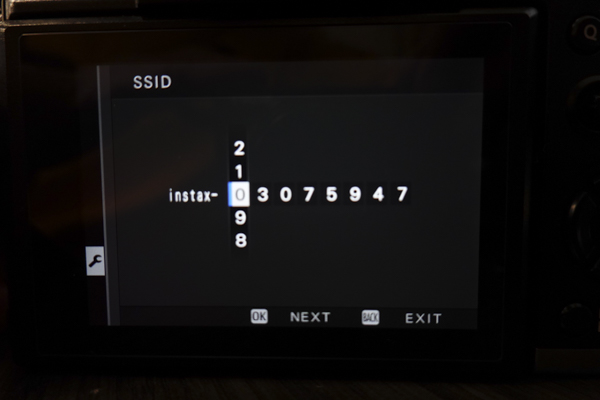
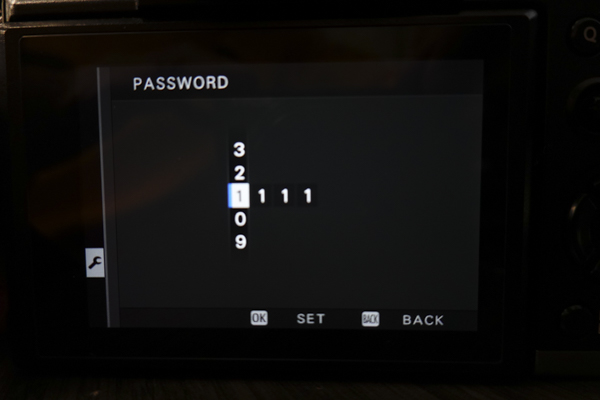
5. Enter the number starting with “Instax-########”
6. If you recently purchased the Fujifilm Instax Share SP-3 Printer or simply never changed the default password, the default password should be “1111”
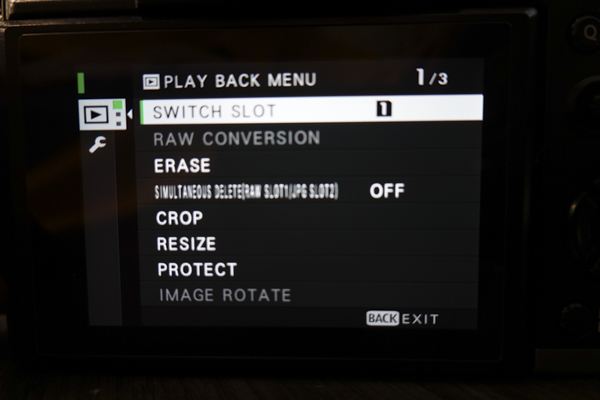
7. Press the “Play Back Menu” button, then the “Menu/Ok” button which brings up another menu
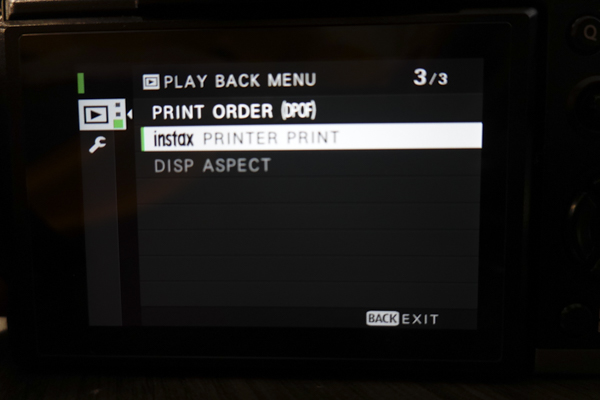
8. Select “Instax Printer Print”
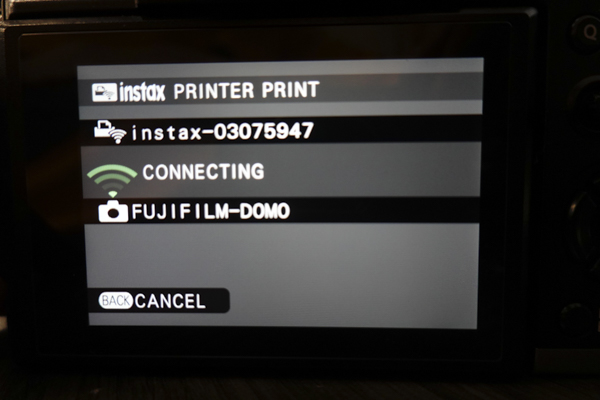
9. Turn on the Instax printer
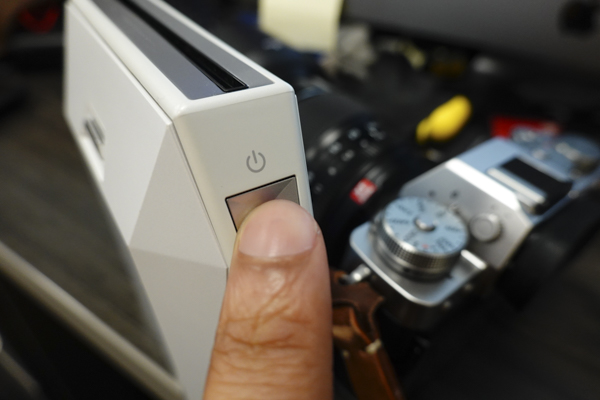
10. The camera will now connect with the Fujifilm Instax Share SP-3 Printer
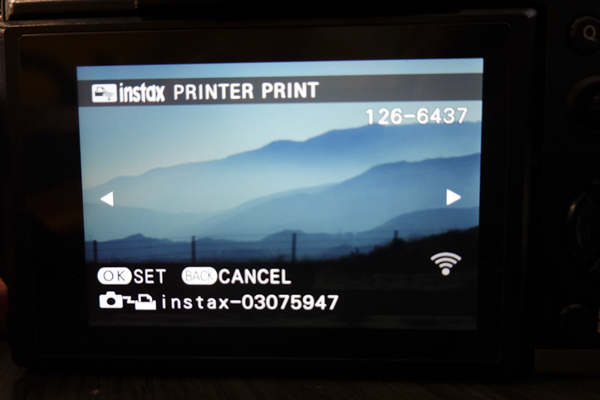
11. Navigate to the image you would like to print
12. Move the square selection tool around the screen to select which part of the image you want to print
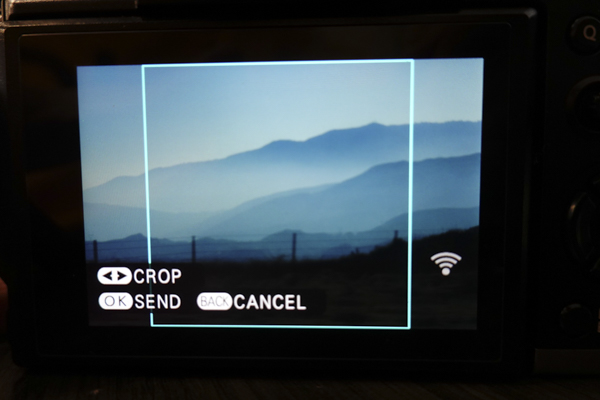
13. Click OK to finalize your print
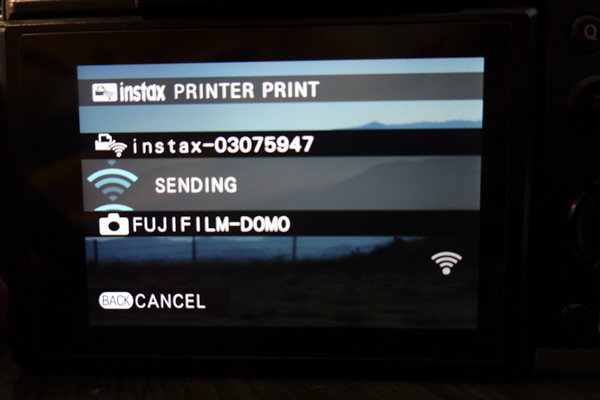
14. Enjoy your print!
How would you use a Fujifilm Instax Share SP-3 Printer? Let us know in the comments!
-
 Regular price: $159.00


