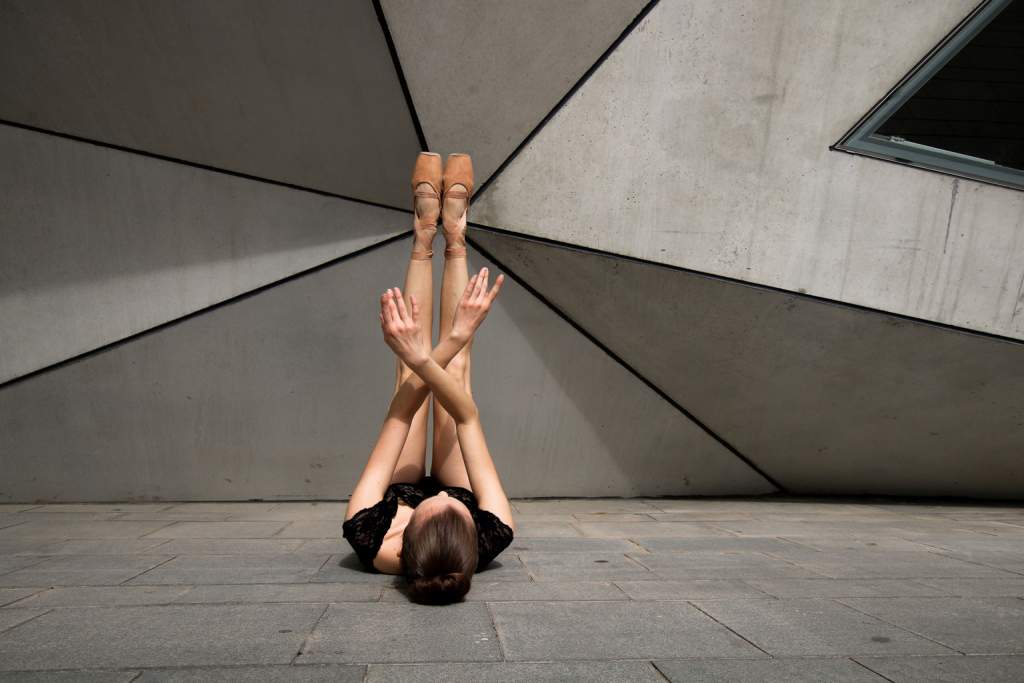
Using leading lines in photography is a simple technique for making your images more visually interesting and compelling. Once you get the hang of them, they can help you become a better photographer. And it’s pretty easy to get the hang of them, once you know what you’re looking for.
So what are leading lines? Read on to see some leading lines photo examples and to learn how you can start using them in your photography.

What are Leading Lines in Photography?
Leading lines are all about drawing your audience’s eyes to a focal point in the frame. As the name suggests, they are lines in the frame that “lead” the viewer toward a subject, area or direction of the photograph. This works because our eyes naturally and unconsciously follow lines in an image and, when the line comes to an abrupt end, they emphasize whatever is at the end of line. The line may literally be a line, or a long, thin object or thing that visually presents as a line in the image.
Here are some leading lines examples:
- Roads, railroads, highways and bridges
- Walls, fences and door and window frames
- Rivers, waves, coastlines and cliffs
- Light rays, trees and hills
- Sign posts and streetlight posts
Every photographer should know about leading lines and add this technique to their repertoire. Photos with leading lines can make even an amateur photographer look like a pro.
Types of Leading Lines
There are different types of leading lines with different purposes and effects. The discerning photographer should consider this when deciding how to use leading lines in photos.
Horizontal Leading Lines

Common for landscape photography, horizontal lines are perfect for wide-angle shots of vast scenery. Imagine a photo of, well, the horizon, that helps emphasize or draw your eye to the subject of the photo.
Vertical Leading Lines

If you want your subject to be imposing or powerful, a vertical leading line is the perfect tool to illustrate that. Vertical lines are common in fashion and street photography.
Diagonal Leading Lines

Conveying motion, change, distance or directionality, diagonal leading lines tend to extend from the foreground to the background (and left to right, as one would read a book). Try shooting your diagonal lines at different angles and directions to achieve different results in tone and depth.
Converging Leading Lines

Imagine a long hallway where the lines that separate the floor from the wall eventually meet in the distance. Placing your subject at the point at which the lines converge is a tried and true way to focus all attention there.
Paths

Actually, paths aren’t exactly a type of leading line. Photographers should know the difference between leading lines and paths. The term leading line refers to a line that leads the viewer to a subject or point of reference, whereas a path always points the viewer to the horizon. Of course, the presence of a horizon does not make it a path; if you have a subject somewhere along the line, the subject becomes the focus. For it to be a path, the horizon must be the focus.
How to Use Leading Lines in Photography
Now that you know what the definition of leading lines is and have learned about a few (but not all) types of leading lines, it’s time to get started making beautiful art. We’ll leave you with some tips for how to spot and take advantage of leading line opportunities in your environment.
Survey the Scene
When you’re at your shooting location, do a quick scan of the area. Look for any natural or manmade lines in your environment. See the list above for some examples, but do not be limited by it! Use your imagination. Be your audience: Take in the scenery and imagine how the objects you see will lead you to a focal point elsewhere in the scene. But remember, the leading line should be secondary to the subject itself.
Pick Your Subject
As we already mentioned, make sure you know what your subject is. You may have multiple leading lines to choose from, but you’ll want to pick the one that serves your subject (i.e. the focal point of the image) the best.
Experiment
These aren’t the old days of expensive film or limited battery life. Experiment with different heights, angles and directions, and find out how your leading lines can be manipulated or affected depending on your shooting position, or how you hold the camera.
Consider Lighting

Your options or opportunities may change depending on light. For example, you can use sun rays or shadows as leading lines. So you’ll want to consider the time of day when planning your shoot. Also, be sure to adjust the shutter speed and aperture as necessary depending on the conditions.
Start with Easy Shots
When you’re learning a new technique, there’s no need to get fancy. Find your nearest railroad track or a long, straight road. Place a subject somewhere along your line, frame up, and take some practice photos. You might be surprised how a leading line can transform an otherwise plain scene into a fascinating visual.
Concluding Thoughts
A leading line can make the difference between a run-of-the-mill shot and an image with purpose, direction and vitality. Mastering leading lines photography is an important landmark in your journey to becoming a master of your craft.


