
Aperture priority mode is an underrated camera feature. Standard on any digital camera with a mode dial, it’s often abbreviated as Av or just A. Many photographers opt to use it as their default mode selection. We’ve broken down when, why, and how to use aperture priority mode below, but first – what is it?
Simply put, your camera will automatically adjust the shutter speed when aperture priority is enabled. You will still be able to manually control aperture, ISO, and all other settings. As you adjust the aperture, the camera will choose an optimal shutter speed to match your selection based on the amount of light it detects coming through the lens.
For example, imagine you’re taking a photograph in a dark room and you want to use a low aperture. Let’s say you change the aperture from F8 to F4. Your camera’s light meter will indicate there is now less light entering the lens. If aperture priority mode is enabled, your camera will automatically decrease the shutter speed to allow for a better exposure.
How to Use Aperture Priority
The dial on top of your camera allows you to select the mode. Twist the dial so that A or Av is selected to enable aperture priority mode. Once you’re in this mode, the camera will assume control of the shutter speed and you’ll no longer be able to adjust it manually.
Shutter priority, also known as time value (S or Tv on the mode dial), does the reverse. It automatically changes the aperture, and allows you to manually adjust the shutter speed. Program (P) mode allows the camera to adjust both aperture and shutter speed. This differs from automatic (Auto) mode which typically controls both in addition to ISO, exposure compensation, white balance, and flash. Some cameras also have an automatic ISO feature. It’s usually separate from the mode dial so that it can be used in conjunction with aperture or shutter priority, or program mode.
Why Use Aperture Priority
The key benefit of this mode is that it gives you manual command over critical settings, while still allowing you to benefit from your camera’s automatic capabilities. In short, it saves you time. Many great photographs were captured in spontaneity; there’s not always time to manually adjust every setting. Shooting in aperture priority mode allows you to worry about one less setting while retaining creative control over the look and feel of your photos.
Beginners specifically should consider using this mode. While manual mode provides full control over your camera, the number of settings that need your attention can be intimidating. Shooting in aperture priority mode (especially with automatic ISO) allows you to focus on mastering the aperture, a crucial element of photography.
When to Use Aperture Priority
Aperture, shutter speed, and ISO are three of the most critical settings on your camera. Together they make up what is called the exposure triangle, as they directly influence the amount of light exposed to your camera’s sensor (or film), resulting in a photograph. Each element has a different effect on the captured imagery.
In most shooting scenarios, aperture and ISO will have a more pronounced visual impact on the resulting imagery. Aperture influences the depth of the field, while ISO controls the sensitivity of your camera’s sensor to light. The wrong aperture could mean your subject is out of focus, while an ISO that’s too high will add grain to your photos. Aperture priority is a great mode to have selected by default, as it allows you to manually control these critical settings, while the camera automatically optimizes your shutter speed.
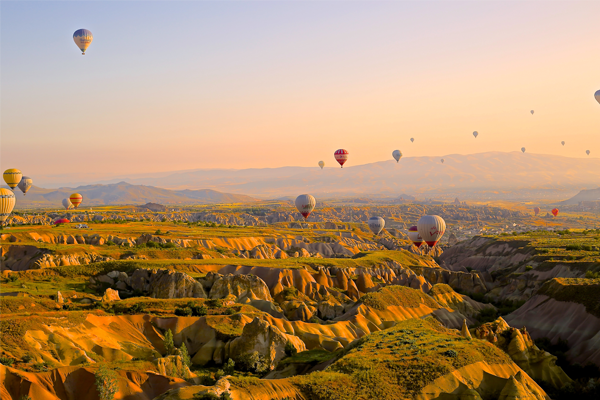
More specifically, aperture priority mode works great in landscape and portrait photography. In these styles, sharp, grain-free imagery is paramount, and the shutter speed can cause minimal disruption.
Aperture Priority vs Shutter Priority
There is plenty of debate in the photography community about aperture priority vs shutter priority. Some photographers refuse to use these modes altogether, preferring manual (M) control over all camera settings. However, the best mode to use ultimately comes down to a combination of what you’re photographing and personal preference.
As mentioned above, aperture priority is a great mode to use for landscape and portrait photography. However, it’s not the best option for every shoot.
When photographing a moving object, the shutter speed will have a big impact on how that motion is captured in the resulting exposure. Therefore, shutter priority makes more sense. It allows you to manually control the shutter speed, and choose how much motion blur (the movement of the object) is captured within your photograph. Manually choosing a longer shutter speed in order to capture more motion blur within a single photo can result in really interesting visuals. This technique is called long exposure photography.
Summary
Contrary to popular belief, always using manual mode is not the sign of a professional photographer. A true pro knows the full capabilities of their camera, and how to use them to their advantage. Many photographers use aperture priority mode because it allows them to utilize the automatic power of their camera without sacrificing creative control. Timing is essential in photography, and aperture priority mode saves time. Sounds like a pro move to me.


