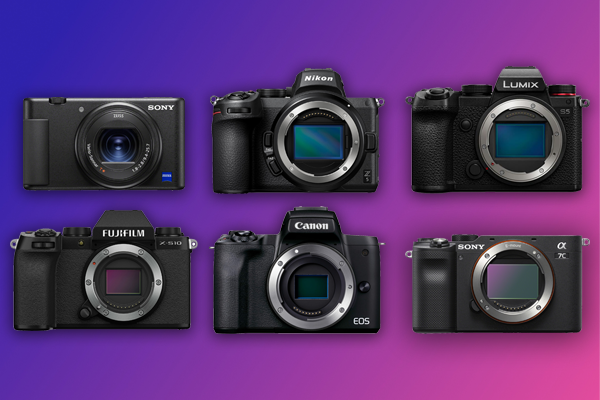
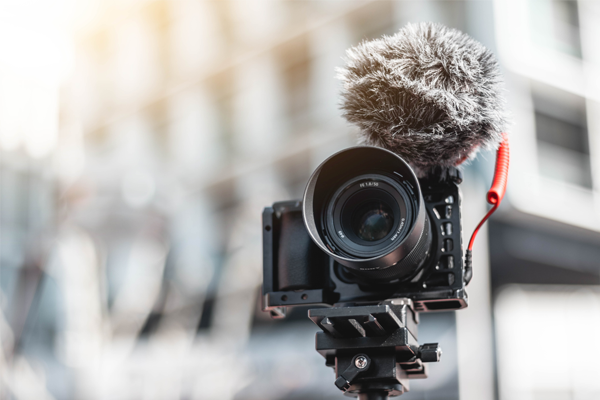
Vlogging has steadily increased in popularity over the past 10 years. In response, camera manufacturers have started releasing cameras specifically targeted at vloggers. In order to help out aspiring content creators, we’ve compiled a list of the best vlogging cameras for beginners that were released in 2020.
A good vlogging camera is powerful, portable, and easy to use. Mirrorless cameras are generally smaller than DSLRs, so it should be no surprise that every camera featured below is a mirrorless system. They’ve also all been optimized to make recording high quality video as easy as possible. Without further ado, here are 2020’s best vlogging cameras for beginners.
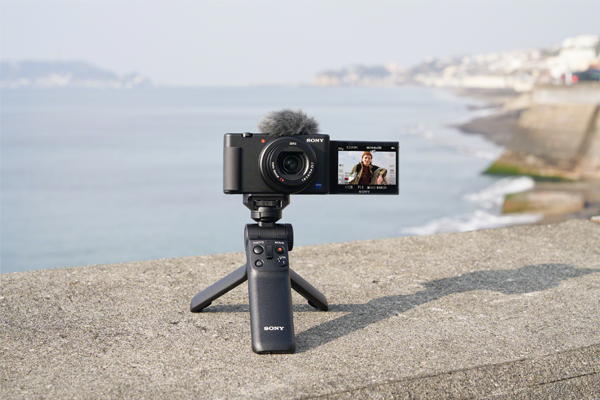
Sony ZV-1
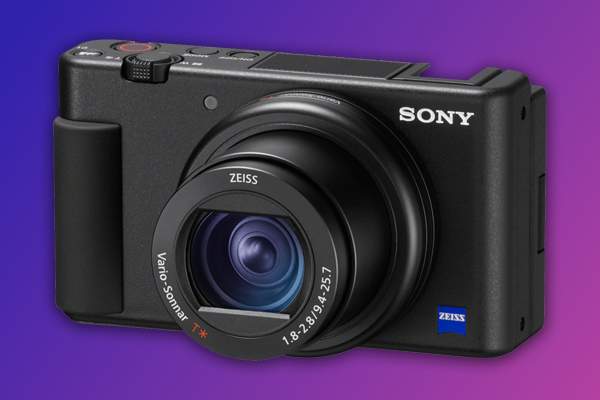 The Sony ZV-1 is an impressively small camera that weighs just 294g (10.4 oz) when loaded with a battery and memory card. While seasoned vloggers may prefer an interchangeable lens system, a fixed lens camera like the ZV-1 is great for beginners. With a 24-70mm focal length, you’ll be able to use it in most settings. The wide f/1.8-2.8 aperture range means the lens also works well in low light and produces a shallow depth of field and nice bokeh.
The camera has a flip-out vari-angle touch screen, large record button on top of the camera, and a recording light on the front. All that to say, it’s very easy to record yourself using this camera. Compatibility with Bluetooth grips like the Sony GP-VPT2GBT and impressive image stabilization means you can walk and talk while recording and still produce watchable footage.
One downside of the pocket-size camera’s build is that you can’t replace the battery or memory card while it’s attached to a tripod or grip. Battery life is also not ideal, at just 45 minutes per charge when recording multiple video clips.
Image quality, however, is fantastic. The ZV-1 has high frame rate capabilities for slow motion recording, and can output 4K video with full pixel readout. From a skin smoothing feature to smart auto-exposure adjustment, the camera is additionally loaded with intelligent settings that will make your videos look incredible.
Meanwhile, the camera’s built-in 3 capsule microphone records remarkably clear audio. A windscreen is included so you can record effectively outside, too.
The Sony ZV-1 is the ultimate point & shoot camera, and can be purchased now for $698. Compactly built and loaded with features, you’ll be amazed at how easy this camera makes it to produce professional grade videos.
Canon EOS M50 Mark II
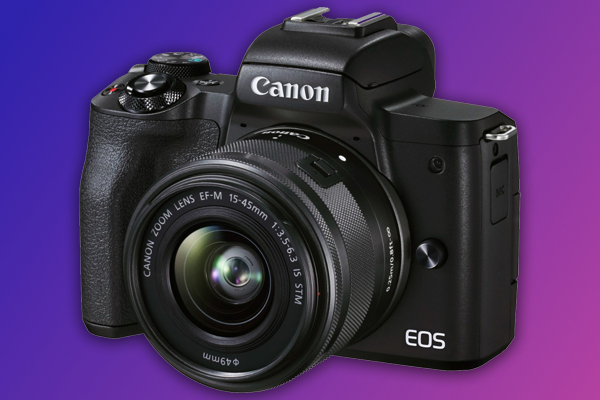 First released in 2018, the Canon EOS M50 went on to become one of the best-selling mirrorless cameras of all time. The Canon EOS M50 Mark II was recently announced, expanding on its popular predecessor to offer features specifically catered to vloggers and content creators.
The M50 Mark II has the same compact build, powerful APS-C sensor, and image processor as the original M50. The camera can output 4K UHD 24p video and up to 120p HD video for slow motion.
One of the enhancements made for the Mark II is an improved autofocus system. The Mark II has strong eye and facial detection autofocus, which can now be used when the camera is in AI Servo AF mode. That is, the camera’s autofocus mode that enables it to track a moving subject. On the M50 Mark II, you can use the AI Servo AF mode when shooting videos as well.
Another new feature is the record button on the camera’s flip-out, vari-angle LCD touch screen. This makes it easier to use the camera to record yourself. The camera also has a feature that helps you produce vertically-oriented video for social media platforms like Instagram. Wi-Fi and Bluetooth connectivity means that images and videos can be easily transferred from the camera to your smartphone using Canon’s Camera Connect app. You can also easily use the camera as a webcam.
Check out our post comparing the M50 Mark II to the original M50 for a more detailed breakdown of their differences, and why the M50 Mark II is a great choice for vloggers. You can also pre-order the camera now for $599. Did we mention that it also comes in white?
Panasonic LUMIX S5
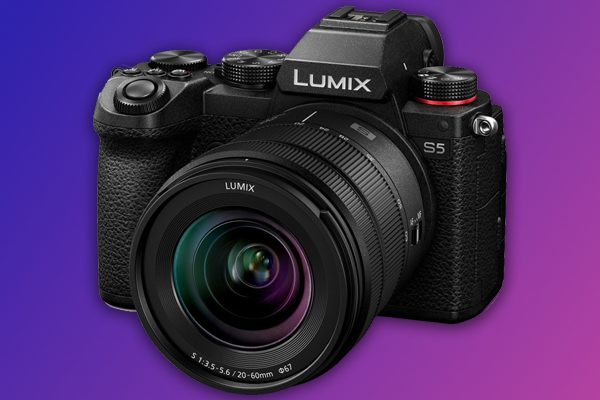 When the Panasonic LUMIX S5 was first announced in September, we knew we were in for a treat. At $1,997.99, it’s the priciest camera in this list. However it’s also arguably the most powerful.
The 24.2MP full-frame camera offers an incredible photo and video performance. The LUMIX S5 can record 4K Full HD 60p 4:2:0 10-bit video internally, albeit with an APS-C sized crop. Plus, an optimized heat dissipation system allows the camera to handle unlimited 4K recording (at 30p 4:2:0 8-bit). V-Log/V-Gamut compatibility means the camera offers over 14 stops of dynamic range, while High Resolution mode allows you to capture incredibly detailed 96MP imagery. The camera also offers an impressive extended ISO range, from 50 up to 204,800.
High resolution mode and a flexible ISO and dynamic range means the S5 is great for astrophotography. The Live View Composite mode feature is also great for capturing vivid long exposures of the night sky.
Other nice features include 5-axis in-body image stabilization, 2 memory card slots, and an ergonomic, weather-sealed build. While the autofocus is not a crowning feature, it has been improved since earlier LUMIX models like the S1. Ultimately, there’s plenty to love about the LUMIX S5.
Nikon Z 5
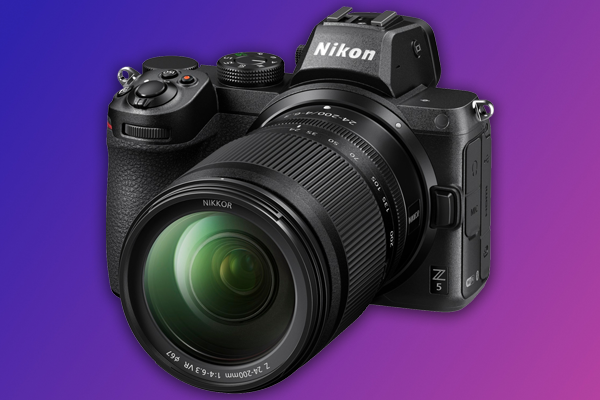 The Nikon Z 5 has been marketed as an entry-level full-frame camera. The camera is an optimal blend of functionality and simplicity that’s perfect for beginners.
A 24.3MP sensor and EXPEED 6 image processor enable the Z 5 to record 4K UHD video at 30p, and 1080 HD video at 60p. The camera outputs detailed, sharp imagery. An expandable ISO range up to 102,400 means the camera also works well in low light.
The camera is equipped with many of the same features as a high-end full frame camera. There’s 2 UHS-II SD card slots, a quad VGA electronic viewfinder, and 5-axis image stabilization (when the camera is used with a Nikkor Z lens). The camera also has a tilting touch screen, albeit one that lacks the flip-out flexibility of a vari-angle screen.
Featuring a 273-point autofocus system with eye detection functionality, the Z 5 does a great job of keeping your subject in focus, even if it moves around the frame. Combined with the camera’s image stabilization and electronic vibration reduction, the Z 5 is great for shooting video. You can also capture stills while recording.
At 590g (20.9 oz), the camera is very portable, with a weather-sealed, magnesium alloy shell.You won’t have any issues taking the camera with you wherever you go, especially if you’re planning to go viral. You can grab the camera now for $1,196.95.
Sony a7C
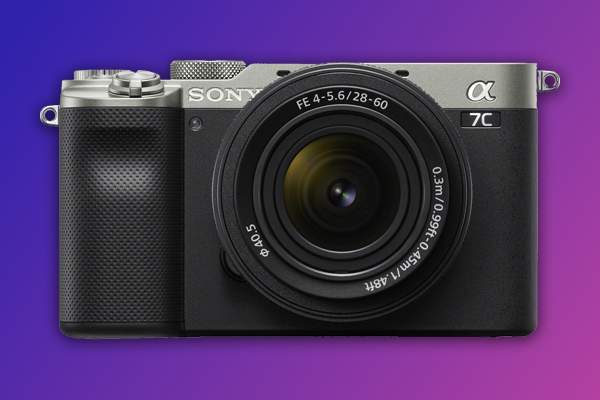 At 509g (17.95 oz), the a7C is Sony’s smallest full frame camera. In fact, it’s one of the smallest full-frame camera systems in the world.
The a7C uses a 24.2MP full-frame sensor and BIONZ X processor to record 4K 30p 4:2:0 8-bit video internally with full pixel readout. The high resolution sensor gives the camera 15 stops of dynamic range and the ability to work well in low light. The (expanded) ISO range of 50 to 204,800 also helps. The camera produces fantastic imagery, with excellent color reproduction and low-noise.
The a7C is equipped with 5-axis in-body image stabilization and a powerful autofocus system. You’ll be pleasantly surprised at the sharp, stable video you can record while using the camera handheld. When recording with a wide-aperture lens, the camera can also capture deep, aesthetically pleasing bokeh.
Offering fantastic functionality and an incredibly small build, the Sony a7c is a great choice for vloggers that value portability and performance in equal measure. You can purchase the camera now for $1,798 in black or silver, or read our full review here.
Fujifilm X-S10
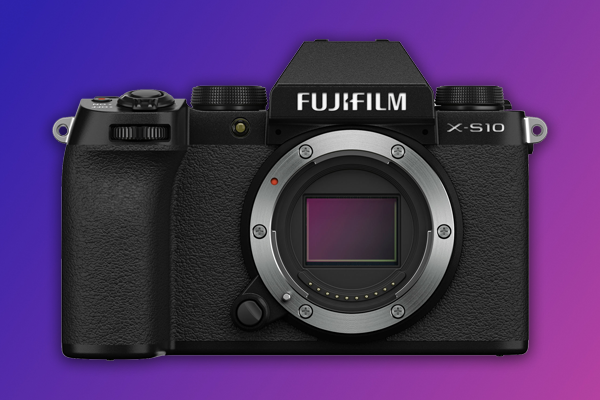 The X-S10 is the latest addition to Fujifilm’s X series, and a great option for vloggers. The 26.1MP APS-C camera has a compact, ergonomic build and delivers a powerful photo and video performance. You can order the camera now for just $999.
Most Fujifilm cameras have a layout that emphasizes manual control. The X-S10 employs a simpler design that makes the camera easy to use. The camera has automatic and semi-automatic modes that aren’t featured on models like the X-T4 and X-T30. However, it does have the same sensor and image processor, enabling it to deliver high quality imagery.
Color reproduction on the X-S10 is outstanding, with 18 film simulation modes that will help you capture incredible visuals. When it comes to video, the camera can record 4K 30p 4:2:0 8-bit video internally with no crop, and can go up to 240fps in full HD for slow-motion. The X-S10 can handle recording for up to 30 minutes continuously. Meanwhile, the fast hybrid autofocus system features face and eye detection. It will keep your subject sharp, even in very low-light.
The X-S10 is extremely portable. The camera weighs just 465g (14.6 oz) when loaded with a battery and memory card. There’s a flip out vari-angle touch screen, 5-axis in-body image stabilization, and the all metal frame feels durable, although it does lack weather sealing. There’s also only one memory slot, for UHS-I SD cards.
The X-S10 is incredibly functional, and Fujifilm have made a concerted effort to make it as easy to use as possible. Not bad for a camera under $1K. As we concluded in our full review, the Fujifilm X-S10 is a high quality, low cost camera. You’ll be glad you chose it to help you make your vlog.
Summary
This concludes our list of the best vlogging cameras for beginners. If making a vlog is one of your goals for 2021, make sure to add one of the cameras above to your holiday wish list.

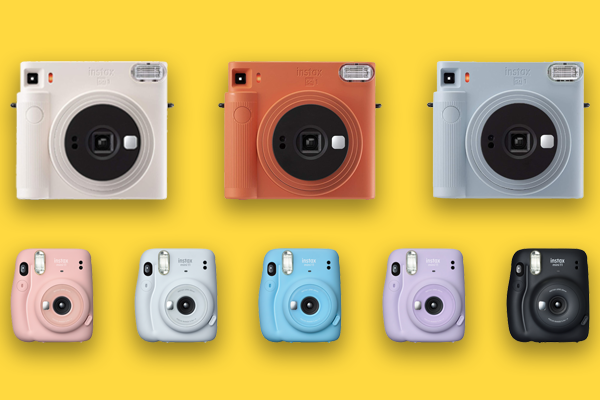 The Instax line of cameras employ colorful, sleek designs, and their latest models are no different. Both cameras are available in a range of different pastel colors, and look and feel great.
 The
The 


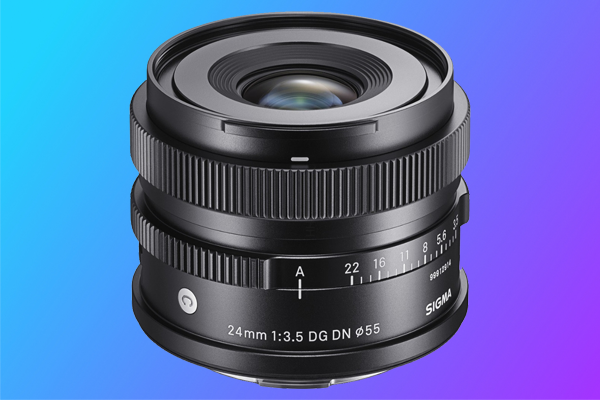
 Sigma’s I Series is all about compact, high quality lenses. The 35mm f/2 DG DN Contemporary lens exemplifies this. The lens has a compact, metallic build that looks and feels great, as well as a ridged focus ring and aperture ring. There’s a switch on the side for toggling between autofocus and manual focus, but no lock switch or click switch for the aperture ring like you can find on some of


 The
The 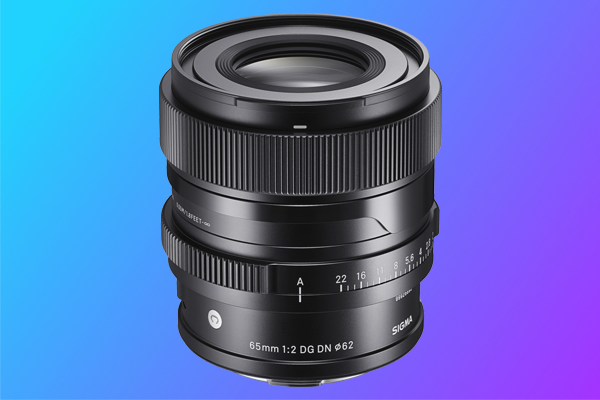 As the longest lens in the I Series, the